
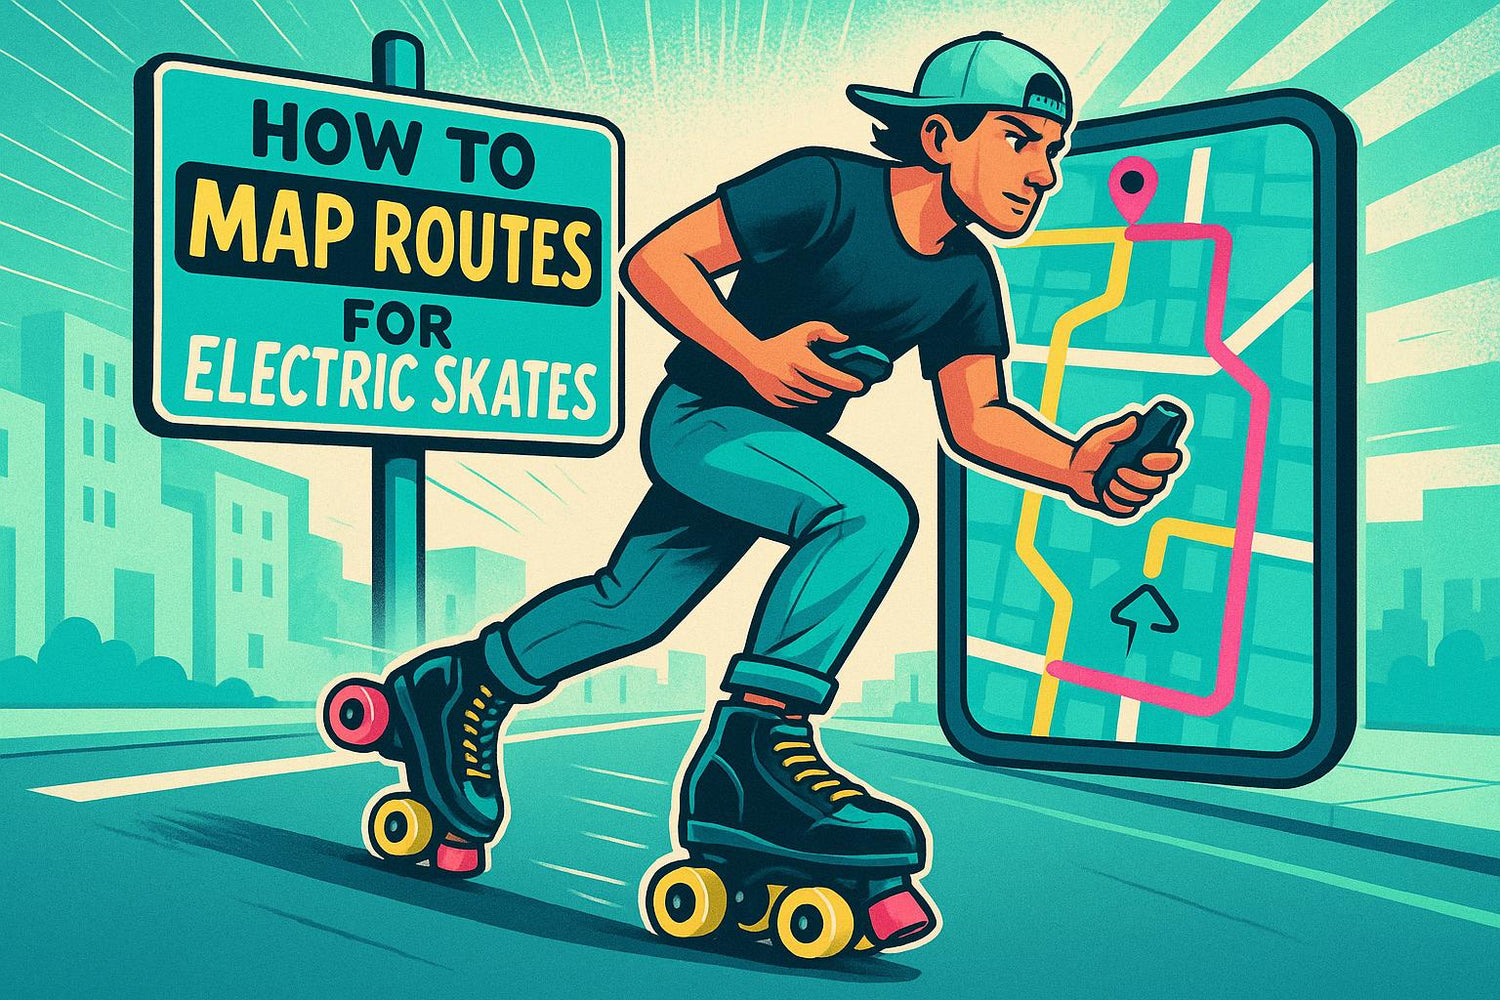
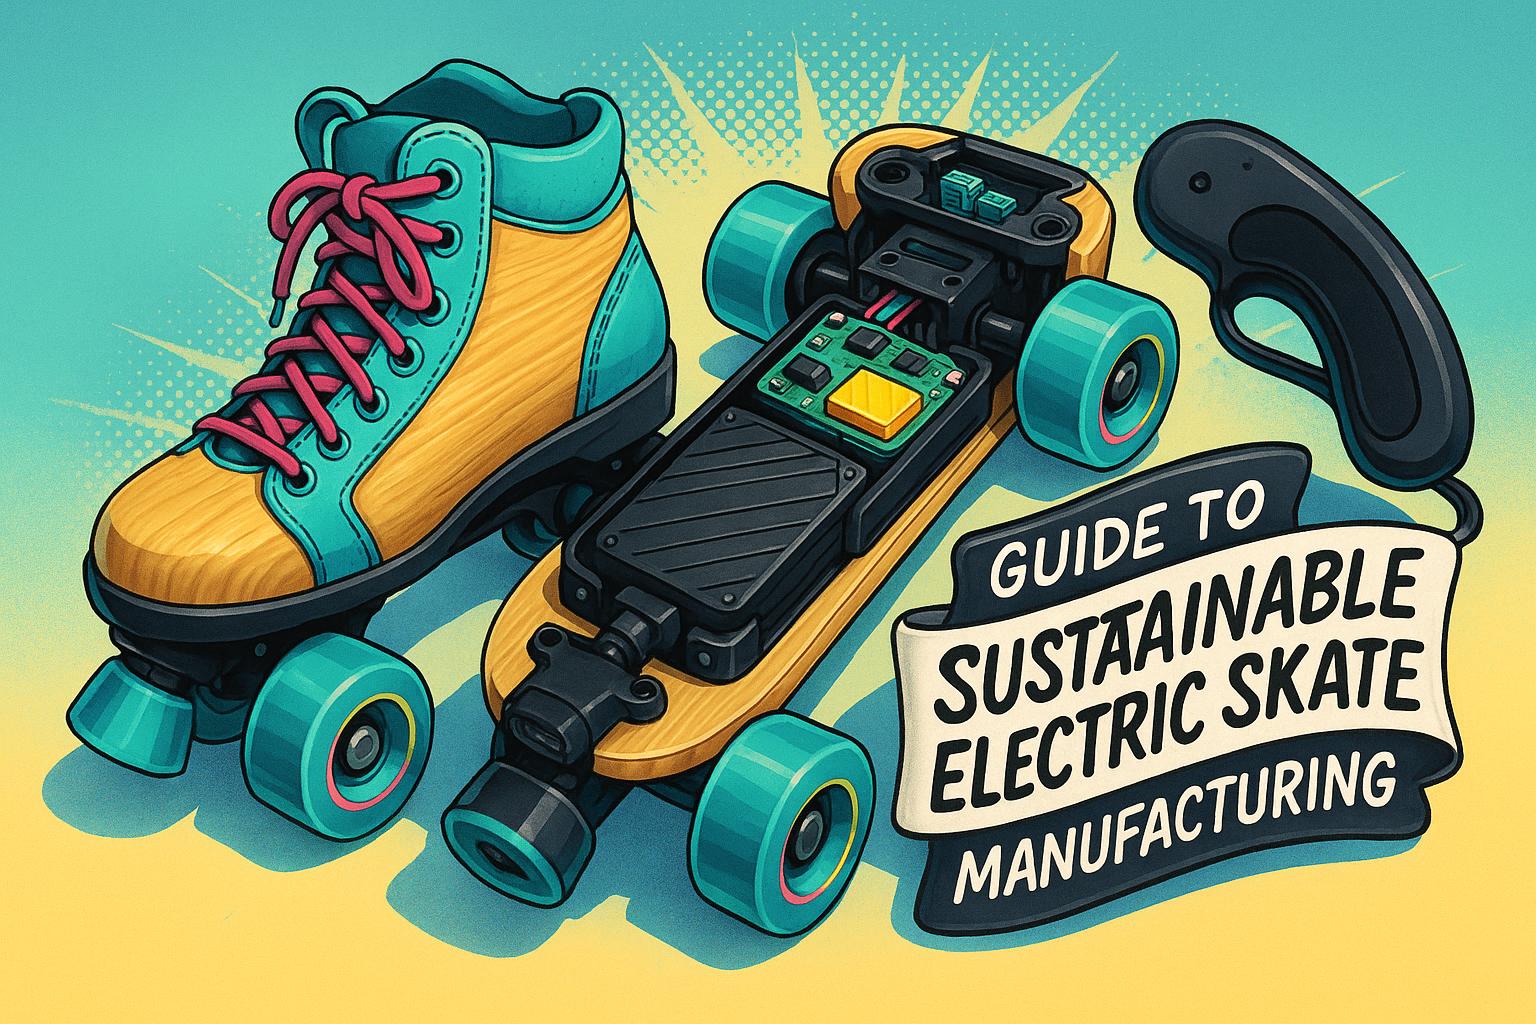
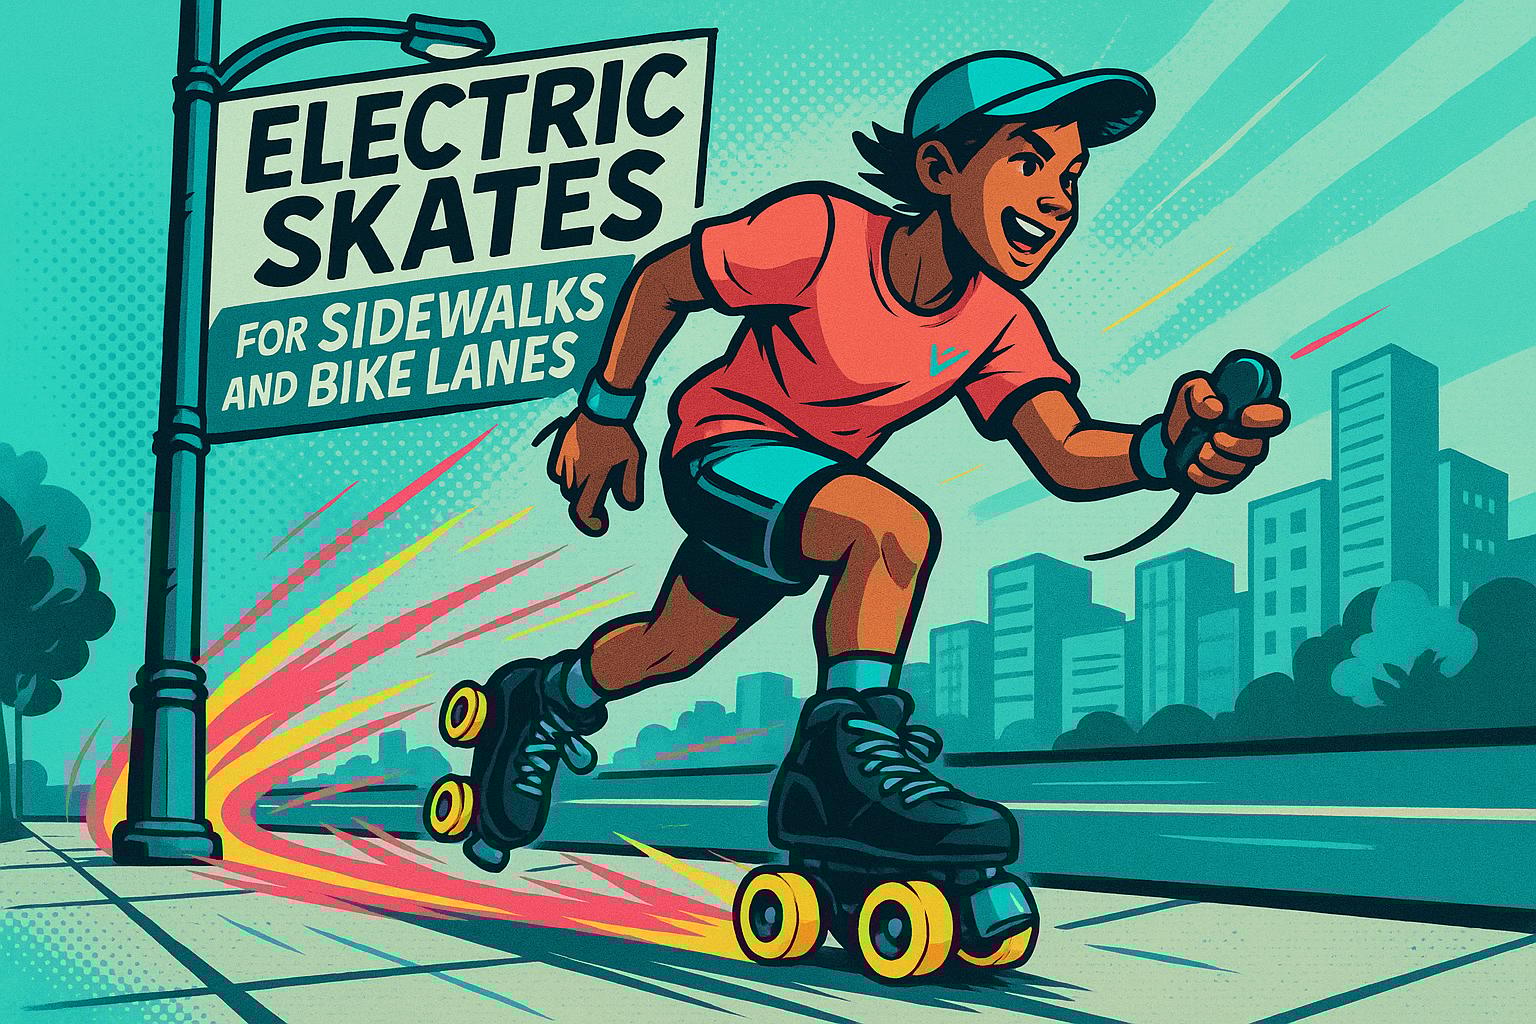
Electric skates like Wheelfeet are a fun and efficient way to get around cities, but without planning your route, you might face battery drain, rough terrain, or unsafe traffic. Here’s how to plan safe, smooth rides:
- Battery Optimization: Avoid steep inclines and rough surfaces, which can drain your battery by 20–30%.
- Safety First: Choose paths with bike lanes and smooth pavement to reduce risks.
- Tools to Use: Google Maps (Bicycling mode, terrain view) and apps like Komoot or Strava help you find ideal routes.
- Plan for Range: Wheelfeet skates cover up to 9 miles per charge. Plan shorter outbound trips and locate charging stops if needed.
- Check Terrain: Stick to smooth asphalt, avoid cracked surfaces, and use satellite view to inspect pavement quality.
- Adjust Speed: Use Wheelfeet’s speed modes (Low, Medium, Fast, PRO) based on the route’s conditions.
Ten Ways To Maximize Range On Your Electric Skateboard!
Tools for Mapping Routes
The right tools can turn your electric skating trips into seamless, well-planned adventures. No need for fancy gadgets - free and widely available mapping tools can help you find smooth paths, avoid steep climbs, and stay within your board's battery range.
Using Google Maps for Electric Skate Routes
Google Maps is a great starting point for planning your routes. Switch to the "Bicycling" layer to find bike lanes and low-traffic paths that are perfect for electric skates. These routes often have smoother surfaces and less traffic. Use the terrain view to identify elevation changes, helping you avoid steep hills that could drain your battery or require extra braking. For a closer look, toggle to satellite view to check pavement quality and spot potential obstacles like construction zones or unpaved areas.
Google Maps also provides traffic data to help you steer clear of rush-hour congestion. You can further customize your route by selecting options to avoid highways and stick to quieter streets.
Apps for Route Planning
If you’re looking for more detailed insights, specialized apps can take your route planning to the next level. Komoot and Strava offer features tailored for riders who demand more than basic navigation.
Komoot, for example, evaluates surface quality, distinguishing between paved and rough routes - critical when you're cruising at 15 mph and need reliable traction. It also provides elevation profiles in feet, so you can anticipate climbs and descents. This is particularly useful for managing battery life and taking advantage of regenerative braking on downhill sections. You can even filter for flat, smooth paths to ensure a safe and efficient ride.
Strava, on the other hand, uses community data to highlight popular routes. Its heatmaps showcase well-traveled bike and skate paths, giving you proven options in your area. Strava also lets you download maps for offline use and export routes as GPX files, making it easy to compare different paths. For skaters seeking inline-specific routes, Street Skates offers a search tool that rates paths for smoothness and low traffic - ideal for adapting to electric skateboards. Additionally, the Wheelfeet Bluetooth app can monitor your battery life in real time, ensuring you stay within your board's range.
Step-by-Step Guide to Mapping Safe Routes
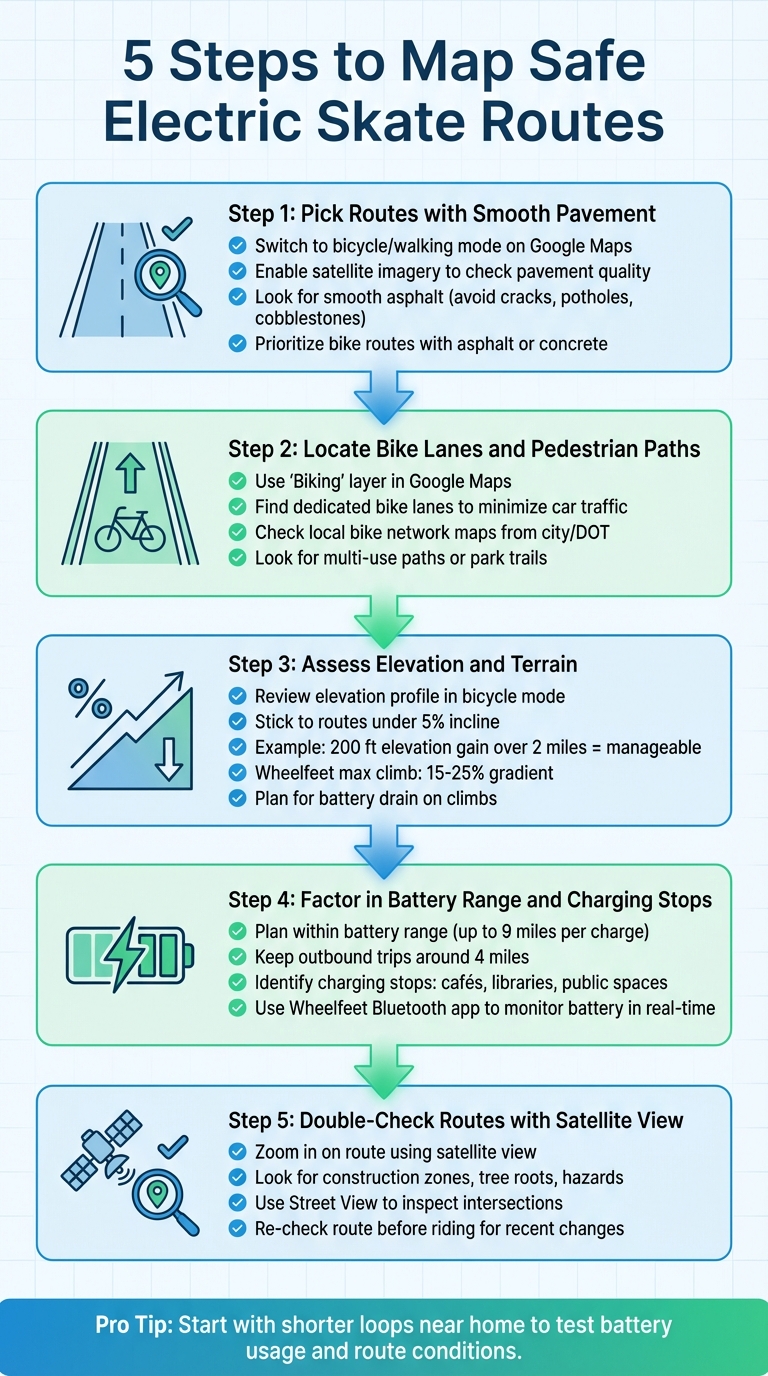
5-Step Guide to Mapping Safe Electric Skate Routes
Step 1: Pick Routes with Smooth Pavement
Start by switching to bicycle or walking mode on Google Maps to highlight routes that are better suited for skating. Then, enable satellite imagery to get a closer look at the pavement quality. Smooth asphalt is your best bet - avoid cracked surfaces, potholes, or rough cobblestones that can trip up small skate wheels. Look for paths marked as preferred bike routes, as they often feature surfaces like asphalt or concrete that are ideal for electric skating.
In suburban areas, streets with well-maintained sidewalks or designated bike lanes usually provide a smoother and safer experience compared to older industrial zones. Be sure to avoid sharp railroad crossings or uneven terrain that could pose risks. Always prioritize routes with clear bike lane markings or pedestrian paths to enhance safety.
Step 2: Locate Bike Lanes and Pedestrian Paths
Once you've identified smooth pavement, the next step is to find dedicated lanes for biking or walking. Use the "Biking" layer in Google Maps to highlight bike lanes in your area. Dedicated bike lanes and pedestrian paths are great for minimizing interactions with car traffic. For example, using the bike/pedestrian path on the Brooklyn Bridge provides a safer and more continuous route in busy urban settings.
It’s also a good idea to check local bike network maps from your city or Department of Transportation. When available, multi-use paths or park trails often offer smoother surfaces and a more relaxed environment compared to mixed-traffic streets.
Step 3: Assess Elevation and Terrain
Use Google Maps’ bicycle mode to review the elevation profile of your route. This feature helps you gauge the total ascent and descent. Stick to routes with gentle grades - generally under a 5% incline - to ensure your skates perform well. For instance, a 200-foot elevation gain over 2 miles is usually manageable. Steeper inclines, however, can drain your battery faster or make control more difficult.
Wheelfeet skates are designed to handle moderate hills, with maximum climb gradients ranging from 15–25%. Keep in mind that climbing uses more battery power, so plan your route accordingly. On downhill sections, use your wireless remote to control speed and activate regenerative or heel braking. By aligning your route with your skates’ capabilities, you’ll extend your range and avoid unnecessary strain.
Step 4: Factor in Battery Range and Charging Stops
Plan your route with your skates’ battery range in mind, especially since uphill segments require more energy. If you’re planning a longer ride, identify potential charging stops like cafés, libraries, or other public spaces. To conserve battery power, keep outbound trips shorter - around 4 miles is a good starting point - so you have enough charge for the return journey, especially if it includes hills.
Begin with shorter loops near home to get a feel for your skates’ speed, braking, and battery usage. Use the Wheelfeet Bluetooth app to monitor battery life in real-time and ensure you stay within a safe range throughout your ride.
Step 5: Double-Check Routes with Satellite View
Before heading out, switch to satellite view in Google Maps and zoom in on your chosen route. Look for smooth and consistent asphalt, and take note of potential obstacles like construction zones, tree roots, or other hazards. Use Street View to inspect intersections for bike lane width, surface conditions, and any defects like patched asphalt or expansion joints.
It’s a good habit to re-check your route shortly before you ride. Construction projects or sudden closures can change conditions quickly, so staying updated ensures a safer experience. Regularly reviewing your route helps you avoid surprises and keeps your ride smooth and enjoyable.
sbb-itb-bf837b9
Factors to Consider for Electric Skate Routes
Terrain and Braking Performance
The type of terrain you choose can make or break your electric skating experience. Smooth asphalt or gentle downhill slopes are ideal for Wheelfeet's regenerative braking system. These conditions help the skates efficiently recover energy while maintaining stable traction at speeds of 15–20 mph. On the other hand, rough gravel or steep inclines can lead to wheel slippage and strain the motor, reducing braking efficiency.
Uneven surfaces, like cobblestones, can increase your stopping distance by as much as 50% compared to smooth pavement. The reduced grip on such terrain affects both regenerative and heel braking. When planning your route, stick to well-maintained asphalt or concrete paths for a safer and smoother ride. Wheelfeet's braking and adjustable speed settings are designed to perform best on these surfaces.
Traffic and Safety Awareness
To stay safe, avoid skating during peak traffic hours (7:00–9:00 AM and 4:00–6:00 PM). Instead, opt for routes with bike lanes or pedestrian paths, especially in cities like New York or Los Angeles, where dedicated bike infrastructure offers a safer alternative to navigating busy streets.
Gear up with LED lights and reflective clothing to increase visibility, especially in low-light conditions. Always skate defensively - yield to pedestrians, signal your moves clearly, and stay alert to your surroundings. These habits not only enhance safety but also complement a well-thought-out route plan.
Weather and Timing Adjustments
Weather plays a huge role in electric skating safety. Rain, ice, and strong winds can significantly reduce traction and make braking less effective. Wet pavement, for instance, can increase your chances of a crash by two to three times. Always check the forecast before heading out, and if conditions look unfavorable, either delay your ride or choose sheltered paths.
Timing also matters. Riding during daylight hours improves visibility and reduces risks. In winter months, starting after 7:00 AM helps you avoid both rush hour and the dangers of low-light conditions. Clear, sunny days are your best bet for a safe and enjoyable ride.
Advanced Route Planning Techniques
Building on basic routing methods, these advanced strategies can help you get the most out of your Wheelfeet rides.
Adjusting Routes for Wheelfeet Speed Settings
Matching your speed mode to the terrain is key for getting the best battery life and maintaining control. Wheelfeet offers four speed settings - Low, Medium, Fast, and PRO - each suited for different conditions.
- Use Low mode for crowded areas where precise control is essential.
- Switch to Medium when riding on bike lanes with light traffic.
- Choose Fast or PRO modes for smooth, open stretches like waterfront paths or greenways. These higher speeds (up to 15.5 mph) are great for covering more ground efficiently, but they work best on routes under 15 miles with minimal hills.
Keep in mind, rider weight impacts performance. Heavier riders might experience a 10–20% reduction in top speed, so plan for slightly longer travel times and stick to routes with fewer hills to conserve battery power.
Using Layered Maps for Urban Terrain
Once you've selected your speed mode, take your planning up a notch with layered map tools. Start with Google Maps and activate the Bicycling layer to highlight bike lanes (marked in green). Then, enable the Terrain layer to spot elevation changes - light gray areas indicate smooth pavement, while brown textures warn of rough gravel.
For even more insight, use Satellite view to confirm pavement quality and check sidewalk widths and curb cuts. To preserve battery life, aim for routes with gradients under 5%, even though Wheelfeet can handle slopes of 15–25%. This layered mapping approach helps you find routes that combine bike lanes, low-traffic streets, and smooth multi-use paths, ensuring every part of your journey is optimized for your skates.
Route Comparison Table
Finally, compare your potential routes side by side to make an informed choice. Consider factors like distance, elevation gain, surface type, estimated time, and safety. Here's an example for a 5-mile urban commute:
| Route | Distance (miles) | Elevation (ft) | Surface Type | Est. Time (min at 15 mph) | Safety Rating (1–5) |
|---|---|---|---|---|---|
| Main St Bike Path | 5.2 | 150 | 80% Bike Lane/Smooth | 22 | 4 (Low traffic) |
| Sidewalk Mix | 4.8 | 250 | 50% Sidewalk/Rough | 25 | 2 (High pedestrians) |
| Waterfront Trail | 5.5 | 100 | 90% Smooth Asphalt | 23 | 5 (Separated path) |
In this example, the Waterfront Trail stands out as the best option, offering a smooth surface and a high safety rating despite being slightly longer. The Sidewalk Mix route shaves off some distance but introduces rough terrain and crowded areas, which can slow you down and increase risks. Use a table like this to evaluate your own routes and quickly decide which one fits your needs for any given ride.
Conclusion
Taking a little time to map out your route can make a big difference in both safety and enjoyment during your rides. By checking pavement quality, elevation changes, and traffic patterns beforehand, you can steer clear of bumpy roads, unexpected battery drain, and tricky intersections. It’s all about making steady improvements. Each time you tweak a route or explore a new path, you’re building habits that lead to smoother, more dependable rides.
Start with a ride you take often - like your daily commute or a favorite park route - and plan it out using tools like Google Maps. Look for bike lanes and note any elevation changes. Switch to satellite view to get a better sense of road conditions. You might even save two versions of your route: one for speedier rides on clear days and another that prioritizes safety for busier times or bad weather. Testing your route during quieter hours can help you spot potential obstacles and make adjustments. Small changes, like avoiding steep inclines or rough patches, can make a big difference.
Before heading out, check the weather (in °F), ensure your battery is charged via the Wheelfeet app, load your planned route, and gear up with lights and protective equipment if you’ll be riding after dark. Keep in mind that local conditions - like new bike lanes, construction, or seasonal changes - can affect your routes. Reviewing and updating your plans regularly ensures a consistently smooth Wheelfeet experience.
Key Takeaways
- Prioritize safety. Stick to smooth roads, bike lanes, and streets with less traffic. Avoid hazards like gravel, potholes, and uneven sidewalks that could throw you off balance. Elevation profiles are also helpful for avoiding steep climbs that drain your battery and descents that require heavy braking.
- Align your route with your Wheelfeet settings. Use Low mode in crowded areas, Medium on lightly trafficked bike lanes, and Fast or PRO modes on open, smooth stretches. Plan routes within your skates’ range (up to 9 miles per charge), factoring in moderate inclines and your typical riding conditions. Utilize Google Maps for navigation and the Wheelfeet app to monitor battery levels and adjust speed settings, ensuring a safer, more enjoyable ride.
FAQs
What’s the best way to plan a route for my electric skates to save battery life?
To maximize your electric skates' battery life, stick to flat, smooth surfaces whenever possible. Steep inclines and routes with frequent starts and stops put extra strain on the motor, causing the battery to drain more quickly. Keeping a consistent speed and taking advantage of features like regenerative braking (if your skates have it) can also help you stretch your battery life.
A little planning goes a long way. Use tools like Google Maps or dedicated route-planning apps to find efficient paths tailored to your ride. Focus on well-paved roads and steer clear of areas with heavy traffic. Not only will this conserve battery power, but it’ll also make your ride smoother and more enjoyable.
What are the best tools for finding safe and smooth routes for electric roller skating?
When searching for safe and smooth routes for electric roller skating, Google Maps and specialized route-planning apps can be incredibly helpful. These tools can highlight areas with smooth pavement, bike lanes, or pedestrian-friendly paths that are perfect for skating.
For a more customized experience, consider apps that include features like terrain analysis or user reviews. These can help you steer clear of rough surfaces or steep inclines, making your ride safer and more enjoyable.
How do hills and elevation changes impact my electric skate's performance and battery life?
Elevation changes play a big role in how far you can ride and how long your battery lasts. Climbing uphill demands extra power, which can quickly drain your battery and shorten your range. On the flip side, descending downhill can actually save energy, as regenerative braking helps recover some of the energy spent during your ride.
If you want to ride more efficiently, try to plan routes with gentle elevation changes. And when tackling steep terrain, keep a close watch on your battery level to avoid any surprises.
Leave a comment
All comments are moderated before being published.
This site is protected by hCaptcha and the hCaptcha Privacy Policy and Terms of Service apply.