
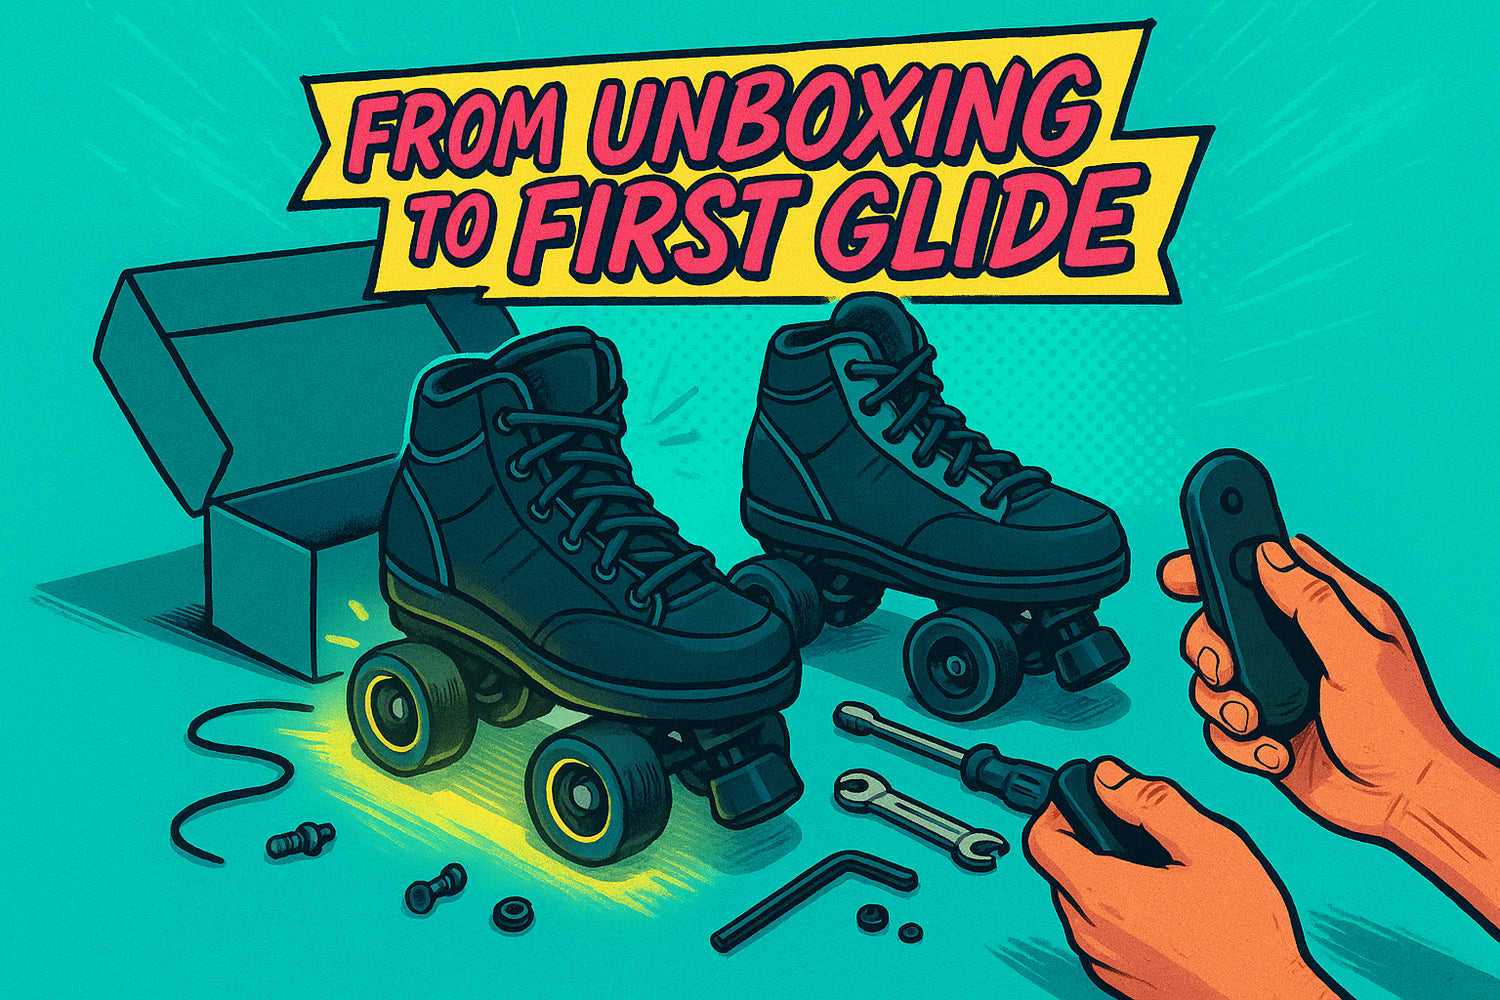
Getting your Wheelfeet electric skates ready is simple and takes just 15 minutes. Here's a quick breakdown:
- Unbox and Inspect (0–2 min): Check for all components - skates, remote, charger - and ensure nothing is damaged.
- Fit and Secure (3–6 min): Attach the skates to your shoes using adjustable straps, and inspect wheels, bolts, and bearings.
- Power On and Pair (7–9 min): Turn on the skates and remote, pair them, and test speed and braking controls.
- Practice Basics (10–14 min): Focus on balance, slow acceleration, braking, and wide turns using beginner speed settings.
- Final Safety Check (15 min): Inspect hardware, confirm tire pressure, and ensure the battery is charged.
Always wear protective gear - helmet, knee pads, elbow pads, and wrist guards - before your first ride. Start slow, practice in a safe area, and enjoy the freedom of e-skating!
Step 1: Unbox Your Skates and Gather Tools (0–2 Minutes)
Check What's in the Box
Start by opening your Wheelfeet package and spreading everything out on a clean, flat surface. Inside, you’ll find the electric roller skates, a wireless handheld controller (standard with every pair of Wheelfeet skates), and a charger for recharging the skates' battery. Take a few moments to inspect each part - hub motor, lights, tires, pads, and bumpers - for any signs of damage like scratches, dents, or loose components. If you spot anything unusual, reach out to Wheelfeet customer service before moving forward. Once you’ve confirmed everything is in good condition, you’re ready for the next step.
Get Your Tools and Safety Gear
Make sure you have everything you need before getting started. Grab your protective gear, including a helmet, wrist guards, and knee pads, to ensure you're ready to roll safely.
Step 2: Fit the Skates and Check Hardware (3–6 Minutes)
Attach Skates to Your Shoes
Start by putting on your regular shoes - Wheelfeet skates are built to fit securely over most athletic shoes and sneakers. Position the skate beneath your shoe so that your heel rests comfortably in the back cup and your toes align with the front platform. Secure the adjustable straps, beginning with the toe strap and then the heel strap, ensuring they’re tight enough to keep the skate stable but not overly restrictive.
Once the straps are secured, gently rock your foot from side to side to confirm that the skate and shoe move as a single unit. If you notice any wobbling or shifting, take a moment to readjust the fit. A snug and stable fit is essential for both safety and maintaining control during your ride. After ensuring the skates are properly secured, it’s time to inspect the hardware.
Check All Hardware Components
Before hitting the road, double-check that all the hardware is in good working order. Start by tightening any visible nuts, bolts, and screws on the skates. Each one should feel secure - nothing should be loose or wobbly.
Next, manually spin each wheel. They should rotate freely without resistance or grinding. Look closely at the wheel surfaces for cracks, chips, or wear that could compromise traction or stability. The wheels should spin smoothly and stop gradually, without any side-to-side wobble.
Pay special attention to the bearings inside the wheels. As you spin them, listen for any unusual sounds like grinding or clicking. Healthy bearings should allow the wheels to turn quietly and smoothly. If you notice any issues, such as roughness or noise, reach out to Wheelfeet support for assistance.
Inspect the trucks - the parts that connect the wheels to the platform. They should be tightened just enough to allow for controlled flex when turning. A gentle press should show some flexibility without feeling too loose.
Finally, examine the screws and fasteners around the motor housing and drive system. Make sure everything is tight and that no components rattle or shift when you move the skates. Once all the hardware is secure, you’re ready to power on and begin your ride.
Step 3: Turn On and Set Up Your Skates (7–9 Minutes)
Power On and Connect Devices
Start by powering up your skates. Locate the power button on each skate - usually near the motor housing or on the side of the platform. Press and hold the button for about 2–3 seconds until the LED lights indicate they’re on.
Next, turn on your handheld remote control. Once activated, it should show LED indicators or display a small screen confirming it’s ready. E-skates are typically controlled via a handheld remote or a wireless module connected to your smartphone, allowing you to manage speed, acceleration, and braking.
Allow about 10–15 seconds for automatic pairing between the skates and the remote. If the LED lights continue blinking, restart both devices and try pairing again.
Before stepping onto the skates, test the controls while holding the remote. Push the navigator outward with your thumb to accelerate. Check for smooth acceleration and then test the brakes by pulling back on the control, ensuring the wheels slow down or stop as expected. Make sure both skates respond equally. If one skate seems sluggish, verify its power connection and confirm it’s fully charged.
Once everything is paired and working correctly, adjust the speed settings to a beginner-friendly level to ensure a safe start.
Choose Beginner Speed Settings
Setting the speed to a beginner mode is key to staying safe during your first ride. Always start in a low-speed mode to maintain better control and reduce risks. Many e-skates, like Wheelfeet electric roller skates, offer adjustable speed settings ranging from beginner levels up to a maximum of 15 mph for seasoned riders.
You’ll find the speed settings on your remote control, often labeled as modes or numbers. Begin with the lowest setting, typically marked as "Mode 1" or shown by a single LED light. This slower speed gives you time to adjust and prevents sudden acceleration that might throw off your balance.
Test the acceleration while the skates are still off your feet. In beginner mode, the wheels should spin up gradually and smoothly, ensuring controlled acceleration to help you maintain balance during your initial rides. You can always increase the speed later as you gain confidence. Once you’re comfortable, you can explore more advanced settings and tackle challenging terrains at higher speeds.
Finally, double-check that both skates are set to the same speed mode to ensure balanced performance. With your skates powered on, paired, and set to beginner-friendly speeds, you’re ready to move on to practicing your first moves.
Step 4: Practice Basic Skills (10–14 Minutes)
Learn Proper Balance and Stance
Getting your balance right is the first step to safe e-skating. Place your feet shoulder-width apart on the skate platforms, keeping your knees slightly bent - don’t lock them straight. Distribute your weight evenly over both feet to avoid leaning too far forward or backward.
Keep your upper body relaxed but upright, and focus your eyes about 10–15 feet ahead. This helps you maintain balance and spot any obstacles early.
To get comfortable, practice this stance while holding onto a wall or sturdy railing. Gently shift your weight from side to side, then front to back, to understand how the skates respond to your movements. Let your arms hang loosely by your sides. Avoid crossing your arms or keeping them stiff - relaxed arms make it easier to stay stable.
Spend about 2 minutes practicing this stance. Once it feels natural, you’ll find it much easier to handle your first powered ride. With your balance in check, you’re ready to start moving without power.
Try Rolling Without Power, Then With Power
Begin practicing movement with the skates turned off. Push off gently with one foot - similar to how you would on a kick scooter - and feel the natural glide.
Work on gliding on one foot to improve your stability and control. Alternate which foot you use to push off. This not only boosts your confidence but also helps you get a sense of how the skates roll naturally.
When you’re comfortable with unpowered movement, it’s time to introduce a bit of power. Set the skates to the lowest speed mode from Step 3 and position yourself in your balanced stance. Gently press the acceleration control on your remote - you practiced this earlier when learning the controls.
Apply very light pressure to the accelerator, just enough to create slight forward movement and engage the motor. Practice this gentle acceleration for 10–15 seconds, then let the skates coast to a stop. Repeat this process 3–4 times until you feel more at ease with powered movement. Once you’ve got the hang of it, start practicing controlled stopping and turning.
Practice Stopping and Turning
Stopping safely is key to staying in control. While moving slowly in beginner mode, practice using the brake function on your remote. Apply the brake gently to bring yourself to a smooth stop.
Try a technique called "feather braking", where you apply light, intermittent pressure to slow down gradually instead of stopping abruptly. This approach gives you better control and feels more natural. Repeat this feather braking method 4–5 times.
For turning, focus on smooth, gentle movements. Shift your weight and lean slightly at your hips to turn - avoid twisting your upper body. Start with wide, sweeping turns rather than sharp changes in direction. To turn left, lean gently to the left while keeping your knees bent and stance steady.
If you have enough space, practice making large figure-8 patterns. If not, simply work on gentle left and right turns. The goal is to make smooth, predictable movements that help you maintain balance. Use the final 2 minutes of your practice session to combine gentle acceleration, wide turns, and smooth stops. This will help you build confidence and feel more in control on your skates.
sbb-itb-bf837b9
Unboxing The NEW Escend ELECTRIC SKATES (Set Up/Tutorial)

Step 5: Do Final Safety and Care Checks (15 Minutes)
Before heading out for a full ride, take 15 minutes to give your skates a thorough safety and care check.
Inspect Every Component Before Riding
After practicing, it’s essential to inspect your skates one last time to ensure everything is in top condition.
Start by checking the wheels and hardware. Press on each wheel to ensure they’re firmly secured. If your Wheelfeet skates have inflatable tires, make sure the pressure is within the recommended range of 45–50 PSI. Tires that are under-inflated or not inflated enough can mess with your balance and control.
Next, go over all bolts and fasteners. Tighten any that feel loose, and keep an eye out for bent parts, frayed wires, or anything that looks off - these could pose serious safety risks. Pay extra attention to the mounting points where the skates attach to your shoes, as these areas handle the most stress while riding.
Check the brakes to ensure they’re working smoothly and respond properly.
Don’t forget the lights and battery display. Confirm that the battery is fully charged and that any built-in front and rear lights are functioning as they should. Put the skates on and take a short walk to listen for any odd sounds. Your skates should feel sturdy and stable with no wobbling or loose parts.
Once the mechanical checks are done, it’s time to focus on caring for the battery.
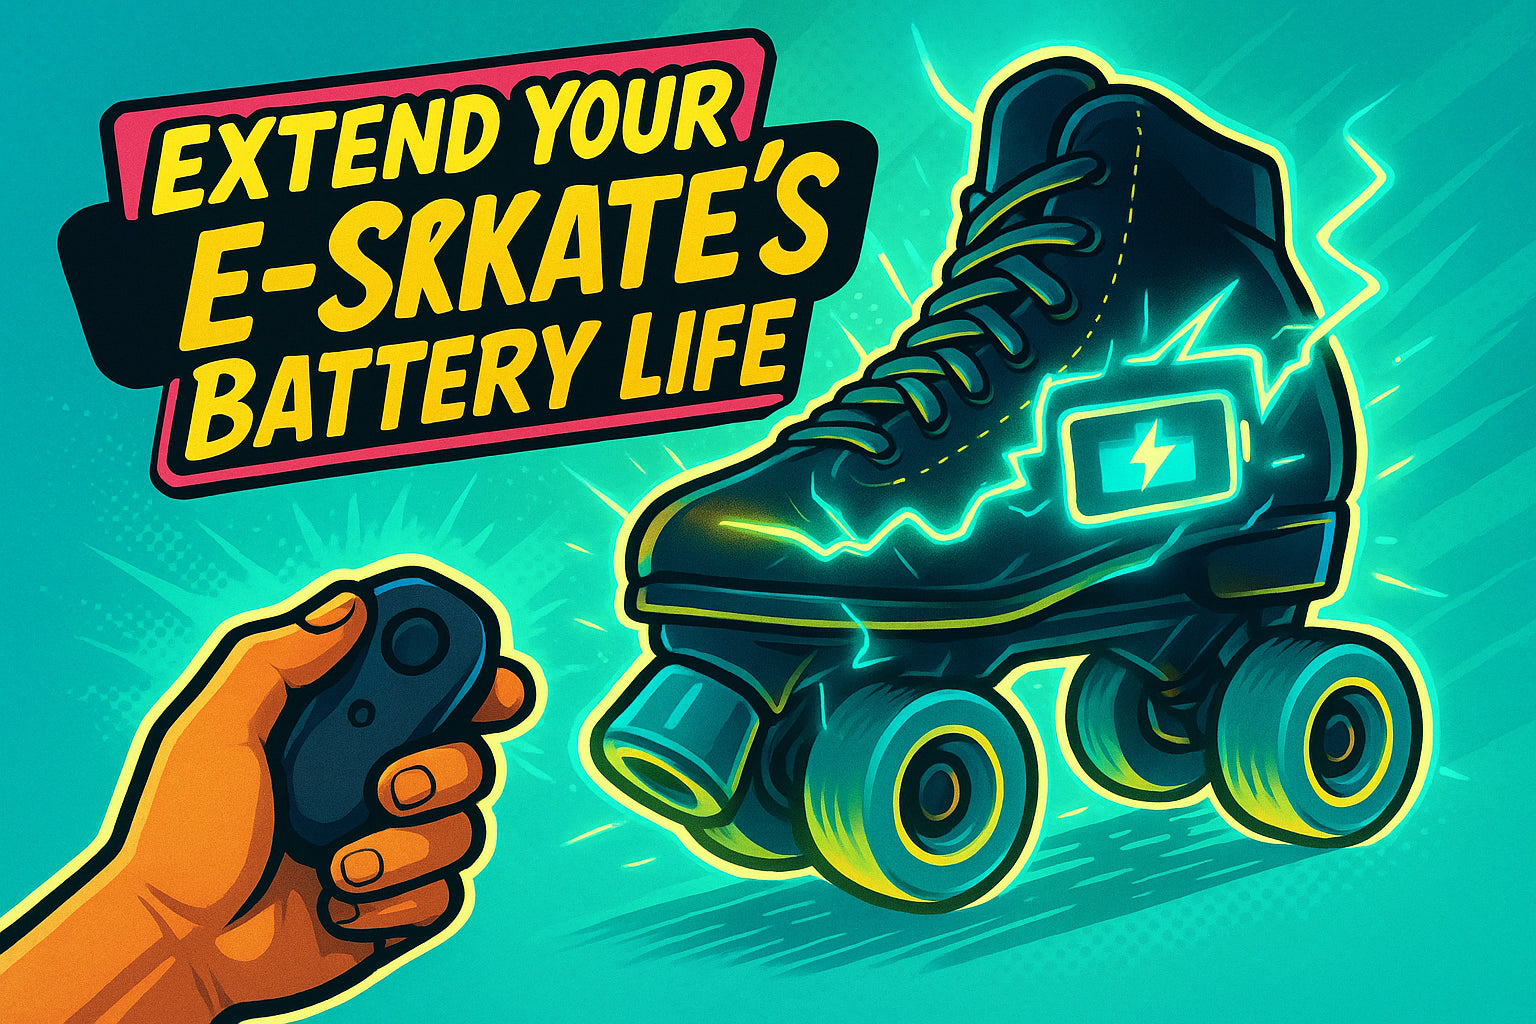
Battery Care and Storage Tips
The rechargeable batteries in your skates are key to their performance and range. Regenerative braking provides a small boost to the battery while you ride, but proper care is essential to keep it running smoothly.
If you’re not planning to use your skates for more than a week, store them with the battery at 50–60% charge. This helps maintain battery health and ensures they’re ready for your next adventure.
Conclusion: You're Ready to Ride
You're all set for a smooth and safe ride. Every step has been checked off, ensuring you're prepared to hit the pavement with confidence.
Your skates are snugly fitted, all parts are secure, the battery is charged, and your safety gear is ready to go. You've practiced the basics - keeping your balance, managing acceleration, braking smoothly, and making simple turns. Plus, you know how regenerative braking helps conserve battery life while giving you controlled stops.
For long-term battery health, remember to store your skates with a partially charged battery.
Your Wheelfeet skates are more than just a fun gadget - they're a reliable, eco-conscious way to get around. Whether you're commuting, running errands, or just cruising your neighborhood, these skates offer a greener way to travel.
As you get started, take it easy. Stick to safe spaces, build your confidence, and enjoy the freedom these electric skates bring. Step onto your Wheelfeet, take that first glide, and savor the ride!
FAQs
What can I do if my Wheelfeet skates won’t connect to the remote control?
If your skates aren’t connecting to the remote, a quick reset might do the trick. Start by turning off both the skates and the remote. Once they’re powered down, switch them back on. Also, double-check that the batteries in both devices are correctly installed and fully charged.
Still having trouble? Contact Wheelfeet customer support for help. They’ll get you rolling again in no time!
How can I keep my Wheelfeet skates' battery in good condition if I don’t use them often?
To ensure the battery in your Wheelfeet skates stays in good shape during periods of little to no use, keep it at about 50% charge. Letting it sit fully charged or completely drained for too long can lead to unnecessary wear and tear. Make it a habit to check the battery every 6–8 weeks to confirm it’s still within the optimal charge range.
When storing your skates, pick a cool, dry spot to shield the battery from moisture and extreme temperatures. Taking these steps can help preserve the battery's condition and extend its overall life.
How do I know if I should contact Wheelfeet customer service about my e-skates?
If your e-skates start acting up, it’s smart to get help sooner rather than later. Some typical problems include motor or speed control glitches, strange noises, trouble stopping, or the skates not responding even after basic troubleshooting. Issues like a battery that won’t charge properly or safety features that aren’t working as they should are also red flags that call for professional attention.
Ignoring these warning signs could compromise your safety. Tackling these problems right away ensures your skates stay in top shape and ready for your next adventure.

Leave a comment
All comments are moderated before being published.
This site is protected by hCaptcha and the hCaptcha Privacy Policy and Terms of Service apply.