
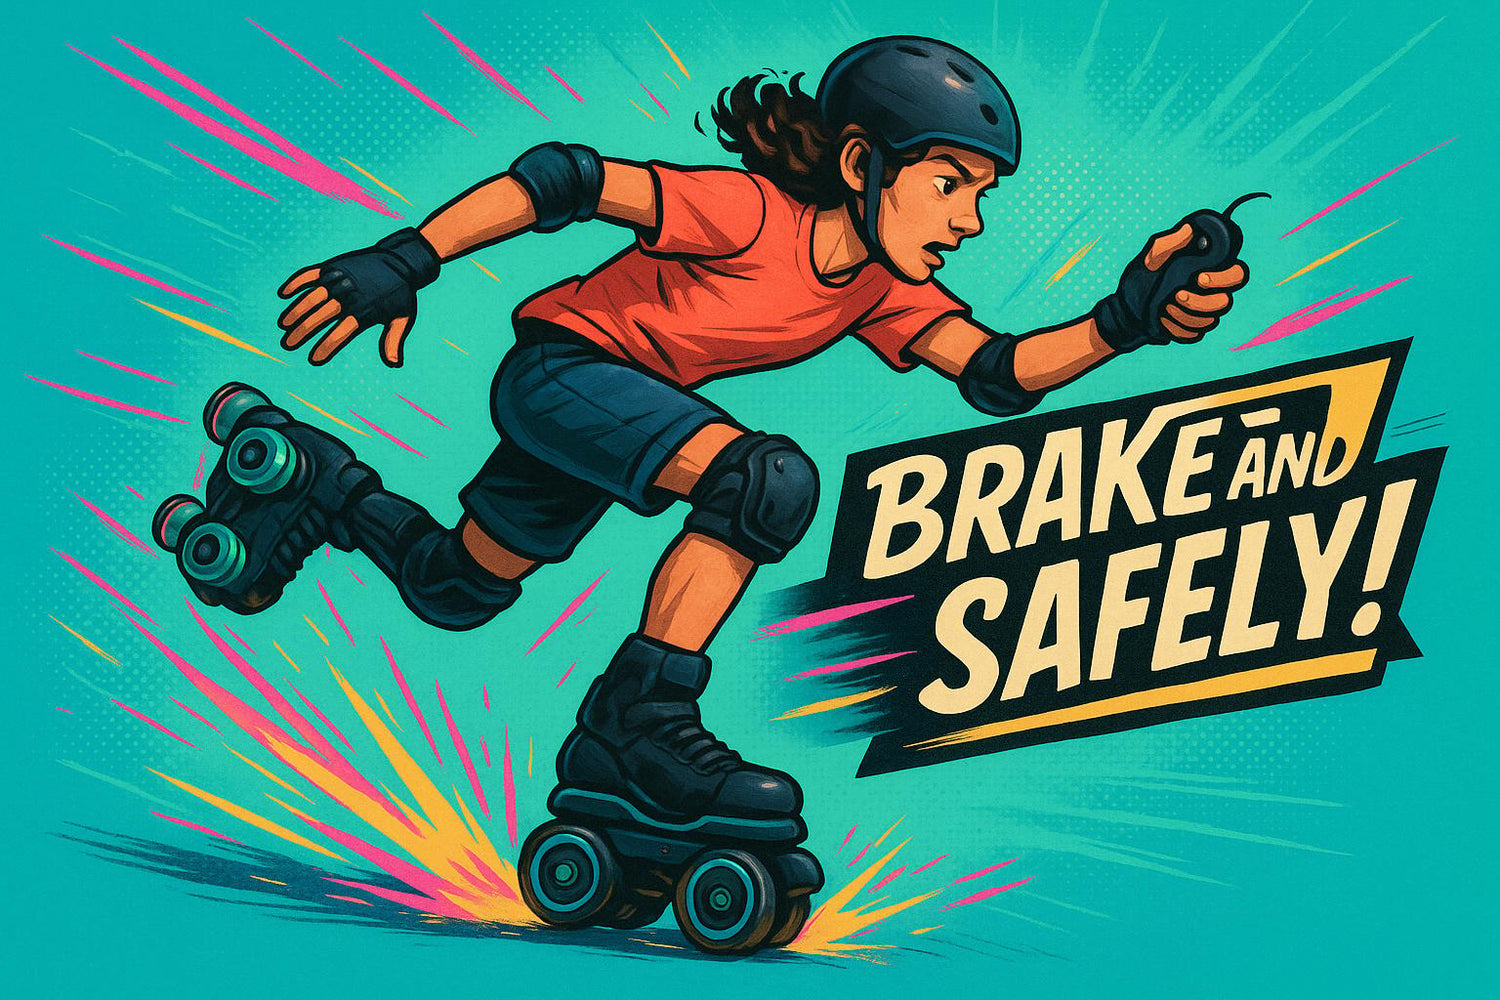
Electric skating can be thrilling, but the fear of falling often holds riders back. This guide covers how to brake effectively and fall safely to reduce injuries while building confidence. Key takeaways include:
- Braking Techniques: Learn electronic braking, regenerative braking, T-stops, heel braking, and power slides. Start slow and practice on smooth surfaces before tackling tougher terrain.
- Falling Safely: Stay calm, tuck your head, roll on impact, and avoid using outstretched hands to brace falls.
- Terrain-Specific Advice: Adjust braking for surfaces like wet pavement, gravel, or steep hills. Use a mix of techniques to stay in control.
- Gear and Maintenance: Wear helmets, pads, and wrist guards. Keep your skates clean, check the battery, and update firmware for consistent performance.
Mellow School: Emergency Braking on an Electric Skateboard
How to Brake Safely on Different Surfaces
Braking safely is a cornerstone of riding electric skates. The technique you use can vary depending on the surface you're navigating.
Types of Braking Systems on Electric Skates
Electric skates come equipped with several braking systems, each suited for different situations and skill levels.
Electronic braking is the go-to method for most electric skates. It slows you down by using the motor's resistance, much like how hybrid cars recover energy during braking. This system offers smooth, predictable deceleration, making it ideal for flat surfaces and gentle slopes. However, it may struggle on steep hills where gravity can overpower the motor’s resistance.
Regenerative braking takes things a step further by converting your kinetic energy into battery power while slowing you down. While this can extend your ride time, the braking force tends to be milder, making it better suited for casual riding on smooth surfaces rather than quick, emergency stops.
Manual braking techniques act as a backup when electronic methods fall short. The T-stop involves dragging one foot perpendicular to your direction of travel, creating friction to slow you down. It works on most surfaces but requires practice to maintain balance.
Heel braking relies on a physical brake pad attached to the back of one skate. By pressing your heel down, you engage the pad with the ground. This method is effective but can feel abrupt if applied too firmly.
Power slides are an advanced maneuver where you turn your skates sideways while moving, using the wheels' friction to come to a stop. While impressive, this technique demands a high skill level and should only be attempted by seasoned riders on suitable surfaces.
Now, let’s dive into how to apply these braking methods step by step.
How to Brake: Step-by-Step Instructions
Learning to brake starts with mastering the basics. Begin with a balanced stance - keep your feet shoulder-width apart and your knees slightly bent. This posture ensures stability and control while braking.
The key to smooth stops is applying pressure gradually. Whether you’re using a remote, heel sensor, or toe pressure system, avoid slamming on the brakes. Abrupt braking can throw you off balance, especially at higher speeds.
For remote-controlled braking, hold the controller firmly in your dominant hand and gently pull back on the brake trigger with your thumb. Start braking 20-30 feet before your intended stop and increase pressure gradually. Extend your free arm for balance.
When using heel-activated braking, shift your weight forward onto the balls of your feet and press your heel down gently to engage the brake.
The T-stop requires lifting your non-dominant foot and positioning it perpendicular to your direction of travel, with the wheels touching the ground. Apply light downward pressure while keeping most of your weight on your leading foot. Gradually increase the pressure until you stop completely.
Practice these techniques at low speeds (around 3-5 mph) before attempting them at faster paces. Each method feels different, and building muscle memory takes time.
Once you’ve mastered the basics, it’s time to adapt your braking to different terrains.
Adjusting Your Braking for Different Ground Types
Braking effectively means tailoring your approach to the surface you're riding on. Each terrain presents unique challenges that can impact your stopping power.
Smooth pavement is ideal for electronic braking. The even surface ensures consistent deceleration, making it easy to rely on your skate’s built-in system. However, when traveling faster than 12 mph, give yourself extra stopping distance, as electronic brakes need time to counter your momentum.
Rough or uneven surfaces - like cracked sidewalks or cobblestone paths - can reduce braking efficiency. Vibrations make it harder to stay balanced, and wheel contact with the ground may be inconsistent. Combine electronic braking with gentle T-stops for added control, and keep your knees bent to absorb bumps.
Wet conditions demand extra caution. Electronic braking remains your primary method, but increase your stopping distance by at least 50%. Avoid T-stops and heel braking, as reduced friction can cause your foot to slip unexpectedly. Apply braking pressure gently to maintain control.
Gravel and loose debris present a unique challenge. While electronic braking works, loose stones can cause your wheels to slip. Slow down significantly before encountering these surfaces, and use light braking pressure. Avoid sharp turns or aggressive stops, as they can lead to falls.
Downhill braking requires a mix of techniques and careful speed management. Electronic braking may not be enough on steep slopes, so alternate between short bursts of braking to prevent motor overheating. Pair this with gentle T-stops, switching feet to avoid wearing out one skate.
Uphill surfaces make braking easier since gravity naturally slows you down. However, be mindful of the transition at the hill’s crest, as your momentum can increase unexpectedly on the descent.
Extreme temperatures can also affect braking. In cold weather (below 40°F), electronic components may respond more slowly. In hot weather (above 85°F), motors can overheat with prolonged braking.
The secret to safe braking lies in reading the terrain ahead. Experienced riders constantly scan for changes in surface, obstacles, and stopping points, allowing them to adjust their speed early and brake gradually instead of relying on sudden stops.
Emergency Falling Techniques That Reduce Injury
Once you've got braking techniques down, the next critical skill is learning how to fall safely. Even the most experienced riders might face situations where a fall is unavoidable. Knowing how to control your fall can help you minimize the impact and reduce the risk of serious injury.
What Controlled Falling Means
Controlled falling is all about turning a potentially harmful crash into a safer, more manageable event. Instead of panicking or resisting the fall, you let your body move with it. The key is to stay calm, tuck your head to protect it, keep your arms close to your body, relax your muscles, and roll when you hit the ground. These simple actions can make a big difference when a fall becomes inevitable.
How to Fall and Dismount Without Getting Hurt
To put controlled falling into practice, focus on these steps when you sense a fall coming:
- Stay calm: Keeping a clear head helps you react effectively.
- Keep your arms close: Avoid stretching them out, which can lead to injuries like FOOSH (Fall On OutStretched Hand).
- Roll on impact: Rolling helps spread the force of the fall across your body, reducing the chance of localized injuries.
Regular practice of these techniques not only builds muscle memory but also boosts your confidence in handling unexpected situations.
sbb-itb-bf837b9
How to Stop Being Afraid of Falling
Feeling nervous about falling is completely normal when you're learning to ride electric skates. It's a natural survival instinct, but it can hold you back from fully enjoying the experience. The good news? With steady practice and some mental tricks, you can build both physical skills and confidence.
Start Small to Build Your Confidence
The first step is to practice in a safe, low-pressure environment. Begin by simply standing still on your skate. This helps you get a feel for the board and improves your balance over time.
A great exercise recommended by Sikana.tv involves using an old skateboard deck without the trucks. Place the deck on a large, round water bottle (2–3 liters) on a soft surface like grass or carpet. Step onto the deck and shift your weight until it balances horizontally. This simple drill helps you get used to unexpected shifts in movement, making sudden falls feel less daunting.
Balance trainers, like Indo Boards, are another excellent tool. They mimic the body movements you’ll use while riding, and if you lose your balance, all you need to do is step off. It’s a safe way to practice without the pressure of being on the actual skates.
Once you’re comfortable, move to familiar and quiet spaces like a driveway, an empty parking lot, or a park path. These areas let you focus on technique without worrying about distractions or hazards. These early physical exercises are a solid foundation for building mental strength.
Mental Strategies for Dealing with Fear
Physical practice is important, but your mindset plays a huge role in overcoming fear. Start by visualizing yourself successfully braking, turning, or even managing a controlled fall - and then getting back up confidently.
Positive self-talk can also work wonders. Instead of thinking, "I'm going to fall and hurt myself", replace it with affirmations like, "I know how to brake safely" or "I can handle this." Repeating these statements helps shift your inner dialogue from fear to confidence.
Mindfulness is another helpful tool. Pay attention to the present moment - the feel of the board beneath your feet, the breeze on your face, or the rhythm of your movements. This focus on the here and now can quiet anxious thoughts about what might go wrong.
Setting SMART goals (Specific, Measurable, Attainable, Relevant, and Time-Specific) can also keep you motivated. Instead of saying, "I want to get better at skating", try something more concrete, like "I’ll practice braking for 15 minutes every day this week".
Lastly, take a moment to identify what exactly you’re afraid of - whether it’s speed, losing balance, or the impact of a fall. Once you know what’s holding you back, you can tackle it with targeted practice and preparation.
Moving from Basic to Advanced Skills
As your physical and mental confidence grows, you can start working on more advanced skills. Consistency is key here - set aside time each week for both physical practice and mental conditioning. Master the basics, like balancing and gentle braking, before moving on to faster speeds or trickier terrain.
Keeping a simple log of your practice sessions can also help. Write down what you worked on and how you felt afterward. Seeing your progress over time can boost your confidence and remind you of how far you’ve come.
Finally, revisit controlled falling techniques in low-speed settings. The more familiar you are with these movements, the less intimidating falling will feel. Over time, this practice will help you ride with more ease and less fear.
Wheelfeet Safety Features and Care Tips

Wheelfeet electric skates are designed with advanced safety systems and gear to help you ride confidently while staying in control.
Making the Most of Wheelfeet's Braking System
One of the standout features of Wheelfeet skates is their regenerative braking system. Instead of relying on traditional friction brakes, this system uses the motor to slow you down while also recharging the battery. With a wireless remote control, you can fine-tune your speed and braking power to match the situation.
For smooth stops at speeds up to 15 mph, gradually squeeze the brake trigger.
To enhance safety, start each ride on the lowest speed setting, especially if you're navigating unfamiliar or tricky terrain. This gives you more reaction time and makes braking easier to manage. Spend time practicing with the remote until you feel completely comfortable using it.
Keeping your braking system in good condition is key to maintaining this level of control.
Maintaining Your Braking System
Routine maintenance ensures your Wheelfeet braking system stays reliable. After rides in dusty or wet conditions, clean the wheels and motor housing to prevent dirt and debris from interfering with the system's performance.
Always keep an eye on your battery level - a low charge can reduce braking efficiency.
Check your remote control regularly for signs of wear or damage. Since the wireless connection is critical for responsive braking, any delay or inconsistency should be addressed by contacting Wheelfeet support.
Store your skates in a dry, temperature-controlled space (50°F–80°F) to protect the battery and braking system.
Don’t forget to update your firmware using the Wheelfeet app. Updates often include important safety improvements and performance tweaks that can enhance your rides.
Along with maintaining your skates, using proper protective gear is just as important.
Essential Safety Gear for Wheelfeet Riders
Wearing the right protective gear significantly reduces your risk of injuries. For instance, helmets can lower the chance of serious head injuries by up to 55%. Choose a snug, CPSC-certified helmet that sits level on your head for maximum protection.
Knee pads, elbow pads, and wrist guards are also highly recommended. They help prevent scrapes, bruises, and other injuries during falls. Look for gear that doesn’t interfere with your ability to handle the remote control, as bulky designs might reduce your grip and responsiveness.
Consider wearing padded jackets or long sleeves to minimize abrasions.
Comfort and mobility are crucial when selecting protective gear. If your gear feels restrictive or uncomfortable, it could throw off your balance or control. Test everything out during low-speed practice sessions to ensure it all works together smoothly.
Before every ride, perform a pre-ride safety check. This includes putting on all your protective gear, checking your battery level, and testing your brakes. Making this a habit ensures you’re fully prepared for a safe and enjoyable ride.
Conclusion: Skate Safely with Proper Skills and Gear
To truly enjoy electric skating, mastering essential skills and using the right gear is non-negotiable. Controlled braking on various surfaces and learning how to fall safely can turn hesitation into confidence, allowing you to fully embrace the thrill of the ride. These skills not only enhance your control but also build your confidence over time.
Practice regularly in safe spaces like quiet parks or empty parking lots to develop the muscle memory needed for unexpected scenarios. Consistency in practice makes a noticeable difference when it counts the most.
Don’t overlook the importance of maintaining your Wheelfeet braking system. Keep the battery charged, clean the wheels after each ride, and perform routine checks to ensure everything is in top condition.
Equally important is wearing protective gear. Helmets, along with knee, elbow, and wrist pads, are essential for minimizing the risk of injury while still allowing you to move freely.
When you know you can stop safely and handle challenges, your confidence grows, letting you push your boundaries and fully enjoy the experience. With the right combination of skills, consistent practice, and well-maintained equipment, the fear of falling diminishes, making room for the pure excitement of mastering electric skating. Every ride becomes not just safe, but a true adventure.
FAQs
What mistakes should I avoid when learning to brake on an electric skateboard?
When you're learning to brake on an electric skateboard, it's important to avoid a few common pitfalls. These can help you stay safe and build your confidence as you get more comfortable with your board:
- Hitting the brakes too hard: Slamming on the brakes might seem like a quick fix, but it can throw off your balance - or worse, send you flying off the board. Instead, ease into braking gradually to stay in control.
- Staying too stiff: A rigid posture makes it harder to handle the board's movements. Keep your knees slightly bent and your body relaxed to absorb the motion better.
- Not paying attention to the surface: Braking on gravel, wet pavement, or other tricky surfaces requires some adjustments. Always keep an eye on the terrain ahead so you can adapt your technique.
- Braking mid-turn: Trying to brake while making a sharp turn can make your board unstable. Whenever possible, straighten out first before applying the brakes.
Take the time to practice in a safe, open space. This way, you can get the hang of braking techniques before tackling more challenging rides.
How can I feel more confident and reduce my fear of falling while learning to ride an electric skateboard?
Building confidence and handling the fear of falling begins with preparation and consistent practice. Start by wearing protective gear like a helmet, knee pads, and wrist guards. These not only help reduce the risk of injury but also give you a sense of security while you practice. Choose a safe, controlled area - like an empty parking lot or a smooth, quiet road - to work on your balance and braking skills without distractions.
Another important step is learning how to fall safely. If you feel yourself tipping over, aim to tuck and roll to spread out the impact instead of stiffening up. It’s important to remember that falling is just part of the process. Each fall - and every ride - brings you closer to improving your skills and building your confidence.
How can I maintain my Wheelfeet electric skate’s braking system to ensure it stays safe and reliable?
To ensure your Wheelfeet electric skate's braking system performs reliably, regular upkeep is essential. Begin by examining the braking components - like pads, rotors, or belts - for any signs of wear or damage. If you notice worn parts, replace them right away to maintain optimal performance.
After each ride, especially on rough or dusty trails, take time to clean the braking system. Use a soft cloth or brush to gently remove dirt, dust, or debris. Be cautious not to use water directly on any electrical components to avoid potential damage.
Lastly, refer to the manufacturer's guidelines for any specific care instructions tailored to your model. These simple maintenance habits will help keep your braking system safe and dependable every time you ride.

Leave a comment
All comments are moderated before being published.
This site is protected by hCaptcha and the hCaptcha Privacy Policy and Terms of Service apply.