
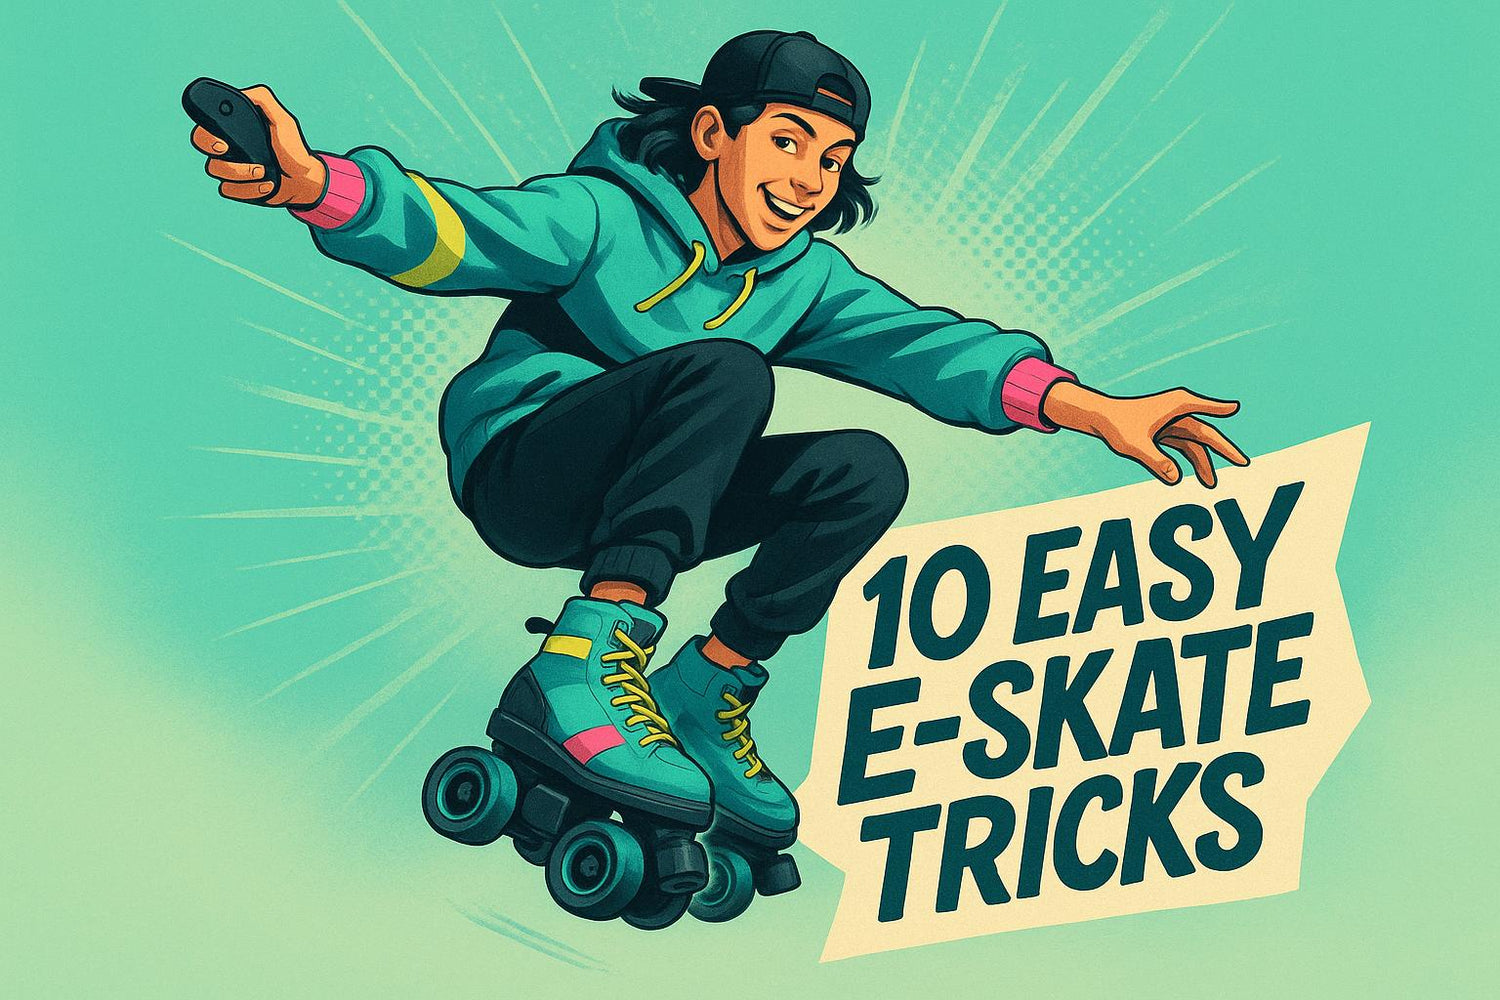
Want to level up your e-skating skills and create scroll-stopping content for Instagram and TikTok? This guide breaks down 10 simple electric skate tricks, safety tips, and filming hacks to help you stand out online.
Here’s what you’ll learn:
- Tricks like the Basic Glide, Heel-Toe Pivot, and Barrel Roll to add flair to your skills.
- Safety essentials: Checking your skates, choosing smooth surfaces, and practicing in safe environments.
- Filming tips: Best angles, lighting, and how to keep videos short and engaging.
Each trick is beginner-friendly, easy to learn, and perfect for creating eye-catching videos. Let’s dive in and make your e-skating unforgettable!
How to Dance on Your Electric Skateboards? 丨Veymax Eskate Tricks - Cross Step
Safety and Preparation Basics
Before you start filming those jaw-dropping e-skate tricks, it’s crucial to prioritize safety and make sure your gear is ready to perform. A little preparation goes a long way in creating smooth, share-worthy content.
Check Your Skates
Keep your battery fully charged. A full battery ensures steady power delivery, which is key to pulling off tricks without interruptions.
Inspect your wheels and bearings. Look for cracks, chips, or excessive wear on the wheels. If they’re damaged, swap them out before hitting the pavement. Pay attention to the bearings - grinding, clicking, or resistance when spinning are signs they may need cleaning or replacing.
Secure all bolts and connections. Loose screws in the motor or drive system can cause vibrations and hurt your performance. Tighten everything up, check for cracks or warping on the deck, and make sure the trucks are securely in place. Don’t forget to scan for exposed wires or loose electrical connections.
Clean your gear regularly. Use a soft-bristled brush or a damp cloth to remove dirt and moisture. Skip harsh chemicals or abrasive materials to avoid damaging your skates.
Choose the Right Surface
Stick to smooth, flat surfaces. These are perfect for building confidence and minimizing the risk of injury. Empty parking lots, paved areas, and quiet roads with smooth asphalt give you better control and stability while practicing tricks.
Consider tennis or basketball courts. These spaces offer plenty of room and softer surfaces that are kinder to your body during falls compared to concrete. Before you start, scan the area for hazards like potholes, cracks, wet leaves, or anything else that could trip you up.
Avoid rough terrain. Dirt, gravel, grass, or bumpy streets make it harder to control your skates and increase the chance of sudden shifts or falls. With your skates tuned up and a safe surface chosen, you’ll be ready to focus on nailing those tricks and capturing the perfect footage.
How to Film Your E-Skate Tricks
Once your skates are ready and you've found a safe spot, it's time to hit record and showcase your skills. Capturing your tricks on camera isn't just about documenting the move - it's about creating content that grabs attention and keeps people watching. The right approach can turn a simple trick into a shareable moment.
Set Up the Perfect Shot
Angle matters. Position your camera at a 45° angle to highlight both your forward motion and side profile. This setup adds depth and makes your tricks pop on screen. For lighting, aim for natural light during the golden hour or stick to shaded spots at midday for a clean, cinematic look.
Get low for drama. Placing the camera 2 to 3 feet from the ground adds a dynamic perspective to your shots. And don’t forget to frame vertically - it’s perfect for Instagram Reels and TikTok.
Film Safely and Smoothly
Stabilize your setup. Use a tripod or a secure mount to eliminate shaky footage. If you’re holding the camera, invest in a case with a good grip or a wrist strap to avoid accidental drops.
Bring a friend. A filming buddy can track your movements, capture multiple angles, and even keep an eye out for safety hazards you might miss while focusing on your trick. Plus, they can help you review the footage on the spot to see what needs tweaking.
Mix up the angles. Start with a wide shot to show your surroundings and full-body movement. Then, switch to close-ups to emphasize the details of your footwork or the board's motion. This variety keeps viewers engaged.
Make Content for Social Media
Tailor your videos for Instagram and TikTok. Mention distances or measurements in your descriptions, like “jumped 2 feet forward” or “spun in a 6-foot circle.” These details help your audience visualize the scale of your tricks and connect better with your content.
Pick iconic locations. Filming at recognizable skate parks, downtown spots, or local landmarks adds a layer of relatability. Your followers might even feel inspired to try the same tricks in familiar places.
Keep it short and snappy. Aim for 15-30 seconds per video. Start with a quick intro, showcase the trick, and wrap it up with a reaction or celebration. This format not only fits social media algorithms but also keeps viewers hooked.
Add personality with text. Overlay simple captions like “Attempt #12” to give context and a bit of humor.
Don’t skip the fails. Some of the most relatable and engaging content comes from showing the process. A short montage of your trial-and-error moments leading up to success tells a story that viewers love - and it keeps them watching until the end. Now that you’ve nailed your filming, it’s time to focus on perfecting those tricks.
10 Easy E-Skate Tricks to Master
Ready to take your e-skating to the next level? With your safety checks done and your camera ready, it’s time to dive into some beginner-friendly tricks. These moves not only improve your control but also add flair to your social media clips. Start simple, build confidence, and soon you'll have a solid foundation for more advanced techniques.
Basic Glide
The basic glide is the starting point for every e-skater. It’s smooth, effortless, and perfect for showcasing your style.
Stand with your feet shoulder-width apart, keeping them parallel. Lean forward slightly from your ankles to maintain balance. Engage the motors and roll forward at a steady pace, somewhere between 3–5 mph. Keep your knees bent and your arms relaxed at your sides. The goal? A smooth, controlled motion that looks great on camera, whether it’s an opening shot or a transition.
Safety tip: Spend at least 30 minutes practicing this move before attempting anything else. It’s essential to feel comfortable with balance and speed control.
Heel-Toe Pivot
This trick adds a quick directional change to your repertoire, making your skating look more dynamic.
Start in the basic glide position. Shift your weight to your heels and lift your toes slightly to pivot on your heel wheels. Rotate your body in the desired direction, using your arms for balance. Once you’ve turned 90–180°, shift your weight back to your toes to complete the move.
This entire pivot takes just 2–3 seconds and is perfect for sharp corners or dramatic direction changes.
Pro tip: Keep your movements smooth. Sudden, jerky motions can throw off your balance and ruin the visual effect.
Side Surf
Want to turn heads? The side surf is a striking move that makes it look like you’re surfing on pavement.
Begin with a basic glide, then rotate your shoulders and hips 90° to face sideways while keeping your feet pointed forward. Your body should be perpendicular to your direction of travel. Extend your arms for balance, with one pointing in the direction you’re moving.
Hold this position for 10–15 feet. The contrast between your sideways stance and forward motion creates a visually captivating effect.
Safety note: Start slow. The sideways position can be tricky to balance at first, so take your time and build up your speed gradually.
Barrel Roll
Despite its dramatic name, the barrel roll is a smooth 360° turn that’s great for short, attention-grabbing clips.
Begin gliding and shift your weight to one side while steering in that direction. Use your arms to initiate the spin, swinging them in the direction of the turn. Complete a full 360° rotation over about 6–8 feet of forward movement.
The result is a wide, flowing spiral that looks especially cool from overhead or ground-level camera angles.
Timing tip: Aim for a 4–5 second rotation. Spinning too quickly can make you dizzy and harder to control.
Rolling Toe Spin
This trick highlights your balance as you spin on your toe wheels while gliding forward.
Start in the basic glide position and shift all your weight to your toes, lifting your heels slightly. Turn your shoulders and use your arms to create momentum for the spin. Keep your knees bent and your core engaged for stability.
Complete a 180–360° spin while rolling forward. The result? A mesmerizing effect that looks like you’re spinning effortlessly.
Balance key: Stay centered over your toe wheels. Leaning too far in any direction can disrupt the spin and cause a fall.
The Dip
For a sleek and dramatic look, try the dip - a low, gliding squat that adds flair to your movement.
From the basic glide, bend your knees and lower your body until your thighs are parallel to the ground. Keep your back straight and arms extended for balance. Hold this position for 15–20 feet before returning to a standing position.
The low stance creates an athletic and stylish effect, especially when filmed from the side.
Strength tip: Build up your leg strength by starting with shorter distances before attempting longer dips.
Click Clack
This trick isn’t just visual - it’s auditory too. The rhythmic sound of your skates adds an extra layer of engagement to your videos.
While gliding, bring your feet close together so the sides of your skates nearly touch. Create a tapping motion by moving your feet slightly apart and back together, producing a "click" sound.
Continue this rhythmic tapping for 10–15 seconds while gliding forward. It’s a fun way to add a beat to your skating.
Rhythm tip: Start slow, with one tap per second. As you gain confidence, you can speed up the tempo.
Backwards Roll
Rolling backwards is a simple yet impressive way to mix things up and expand your skill set.
Start from a stop, facing the opposite direction. Engage the motors in reverse and roll backwards at a slow pace - around 2–3 mph. Keep your knees bent and your arms out for balance. Check behind you occasionally to ensure the path is clear.
Safety first: Practice in an open space with no obstacles. A spotter can be helpful when you’re just starting out.
One-Foot Glide
This move is all about balance and grace, creating a dance-like effect that’s perfect for artistic shots.
From a basic glide, shift your weight onto one foot and lift the other. You can bend the lifted leg at the knee or extend it sideways for added flair. Hold this position for 10–15 feet before placing your foot back down.
Balance strategy: Start by lifting your foot just an inch off the skate. As you get more comfortable, increase the height.
Quick Stop Slide
End your tricks with style using the quick stop slide. It’s practical, dramatic, and shows off your control.
From a glide, turn your feet perpendicular to your direction of travel. Lean back slightly and let the sides of your skates slide to create a controlled stop over 2–3 feet.
The sliding motion, combined with the sound it makes, adds a bold finishing touch to your routine.
Control tip: Practice at slow speeds first. The slide requires precise weight distribution to avoid losing balance.
Each of these tricks builds on core skills like balance, control, and confidence. Once you’ve mastered them individually, try combining them into seamless sequences for a more polished performance. Smooth transitions and steady movements will elevate your videos and make your skating stand out.
sbb-itb-bf837b9
Tips for Progress and Safety
Learning e-skate tricks is a journey that requires patience, practice, and a focus on safety. By building your skills gradually and taking care of your gear, you can enjoy steady progress while minimizing risks. Here’s how to keep your skating experience both fun and safe.
Start Slow and Build Confidence
Take your time mastering each trick. Begin with basic moves like the glide or heel-toe pivot, practicing each for about a week before moving on to more advanced techniques like the barrel roll or one-foot glide. This step-by-step approach helps you build a solid foundation.
When practicing new tricks, start at a slow speed - around 2-3 mph - and only increase it once you can perform the move smoothly five times in a row. This method prevents the common error of rushing into advanced moves before your balance and muscle memory are fully developed.
To track your progress, record short practice videos on your phone. Watching these clips weekly can help you spot areas for improvement and celebrate milestones. Many skaters find this visual feedback both motivating and insightful.
Organizing your practice sessions by skill type can also be helpful. For instance, dedicate certain days to balance-focused tricks like the dip or one-foot glide, and other days to rotational moves like the rolling toe spin or barrel roll. This structure not only keeps you from feeling overwhelmed but also allows your muscles to recover between sessions.
Practice Safe Repetition
When it comes to improving your skills, consistency is more effective than overexertion. Opt for 20-30 minutes of focused practice rather than long, tiring sessions. Fatigue can lead to sloppy technique and increase your risk of injury.
Choose a practice surface that’s smooth and free of hazards. Flat concrete or asphalt with minimal foot traffic is ideal. Avoid wet areas, loose gravel, or crowded spaces. Basketball courts or empty parking lots often provide perfect conditions for practicing tricks.
Stay hydrated, especially in warmer weather. Drink 8–10 ounces of water every 15–20 minutes during your session to maintain focus and avoid heat-related fatigue. Dehydration can impair your balance and reaction time, making accidents more likely.
Pay attention to your body’s signals. If you feel muscle strain, dizziness, or notice your technique slipping, take a 10-minute break. Never skate when you’re unwell or distracted, as full mental and physical engagement is essential for safety.
Before starting your session, spend 5 minutes gliding to warm up your muscles and check your skates. This brief warm-up helps prevent injuries and ensures your equipment is ready for more complex moves.
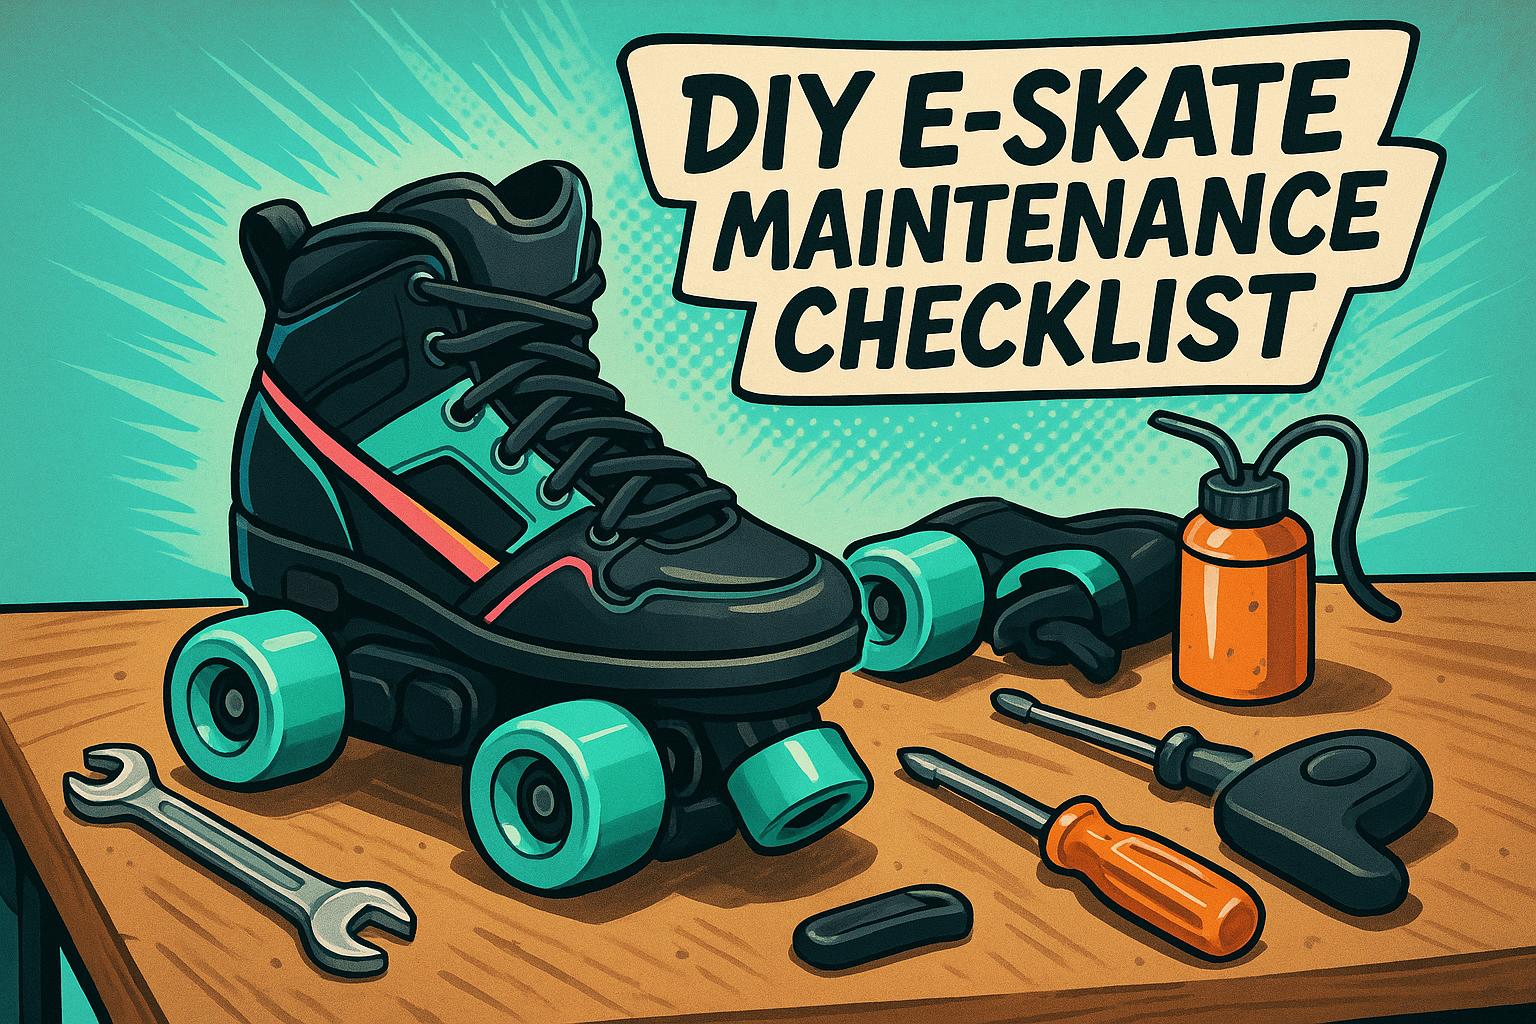
Maintain Your Skates
Keeping your skates in good condition is just as important as practicing safely. Regular maintenance not only extends their lifespan but also ensures consistent performance.
Check your wheels and battery weekly. Always make sure your battery is above 30% before skating, as a low charge can cause inconsistent motor responses. Fully charge your skates after each use to keep them running smoothly.
Clean your skates monthly with a damp cloth, focusing on the wheel wells and motor housings where dirt tends to accumulate. Avoid harsh chemicals or submerging the skates in water, as this can damage the electronics.
If you notice your skates pulling to one side or experiencing unusual vibrations, stop practicing immediately and inspect them for loose parts or damaged wheels. These issues can lead to falls, especially during advanced tricks.
Keep a simple maintenance log to track battery performance, unusual sounds, or handling changes. Document any impacts or falls to identify potential problems early and schedule professional servicing if needed.
Store your skates in a cool, dry place, away from direct sunlight and extreme temperatures. Avoid leaving them in hot cars or damp areas, as this can harm the battery and electronics. Proper storage ensures your skates are ready for action whenever you are.
Conclusion
Mastering these 10 skating tricks can elevate your skills while helping you create engaging content for Instagram and TikTok. The techniques outlined here provide a strong base for boosting your confidence on skates and producing videos that grab attention.
Remember, preparation is key. Make safety a priority by using proper gear, keeping your skates in good condition, and practicing in secure environments. And don’t overlook the filming tips - capturing your moves effectively can make all the difference in showcasing your progress.
Start with simpler tricks like the glide and heel-toe pivot before moving on to more challenging ones, such as the barrel roll or one-foot glide. This step-by-step approach helps you build confidence and muscle memory, making each new move feel within reach.
Consistent practice is your best ally. By focusing on repetition, you’ll naturally refine your technique and reduce the risk of mistakes caused by fatigue. Over time, your skills will improve, and your tricks will look smoother and more polished.
Lastly, take care of your skates. Properly maintained equipment ensures reliable performance, giving you the stability and confidence to try new moves with ease.
FAQs
What are the most common mistakes beginners make when learning e-skate tricks, and how can they avoid them?
Common Mistakes Beginners Make with E-Skate Tricks
When you're just starting out with e-skate tricks, it's easy to fall into a few traps. One of the most frequent issues? Body positioning. Leaning too far forward or backward can completely throw off your balance, making it harder to stay in control. Another big mistake is sudden movements - whether it's hitting the accelerator or slamming the brakes too quickly - especially on uneven ground. Both can lead to unnecessary spills.
So, how do you avoid these missteps? Start by keeping your stance stable. Bend your knees slightly and distribute your weight evenly across the board. When it comes to speed, make small, gradual adjustments instead of abrupt changes. And here's a tip: practice in a smooth, open area without obstacles to give yourself room to focus. With time, patience, and regular practice, you'll not only build confidence but also nail those tricks safely!
What are the best tips for making my e-skate trick videos stand out on Instagram and TikTok?
To make your e-skate trick videos pop on Instagram and TikTok, focus on tricks that are eye-catching and easy to follow. Good lighting is key - natural light works great, but if you're indoors, make sure your setup is bright and clear. Experiment with dynamic camera angles and smooth transitions to really show off your movements. Want to add extra flair? Try effects like slow-motion or time-lapse to keep your audience hooked.
Pair your clips with popular music tracks to ride the algorithm's wave, and don't forget to use hashtags that match your content. A short, punchy caption that fits the vibe of your video can grab attention and spark interaction. Posting consistently and sticking to a recognizable style can also help you grow your audience and keep them coming back for more.
What should I do if my e-skate feels unstable or vibrates while practicing tricks?
If your electric skateboard feels wobbly or starts vibrating, it’s time to check if everything is tightened up properly. Loose wheels, hubs, or trucks are often the culprits behind these problems. Take a close look at your belts and trucks for any signs of wear, slipping, or looseness, and make adjustments as needed.
You might also want to experiment with the bushing hardness or tighten your trucks to boost stability and cut down on vibrations. Keeping up with regular maintenance - like cleaning your bearings and ensuring all parts are in top shape - will go a long way in keeping your rides smooth and safe, especially when you're working on those tricks.
Leave a comment
All comments are moderated before being published.
This site is protected by hCaptcha and the hCaptcha Privacy Policy and Terms of Service apply.